When working on a software project, it is important to organize your code effectively. This not only simplifies collaboration but also makes it easier to manage the project as it grows. One of the best ways to organize your code is by using a version control system like Git. GitHub is a popular platform that utilizes Git and allows you to easily collaborate on projects with others. In this article, we will explore the best practices for setting up a branch in GitHub using Visual Studio and provide a step-by-step guide to ensure a seamless experience.
Best Practices for Setting Up a Branch in GitHub:
- Use a consistent naming convention: Adopt a consistent naming convention for your branches to make it easy for team members to understand their purpose. Common naming conventions include ‘feature/feature-name’, ‘bugfix/bug-name’, and ‘hotfix/hotfix-name’.
- Keep branches short-lived: To minimize the potential for merge conflicts and improve overall project management, try to keep branches short-lived. Work on a specific feature or bug fix, and then merge it back into the main branch as soon as possible.
- Regularly update your branch from the main branch: Update your branch with the latest changes from the main branch to minimize conflicts and keep your branch up-to-date.
- Write clear and concise commit messages: Writing descriptive commit messages helps team members understand the changes you’ve made and makes it easier to track the project’s history.
- Review and test your code before merging: Before merging your branch into the main branch, thoroughly review and test your code to ensure that it doesn’t introduce any new issues.
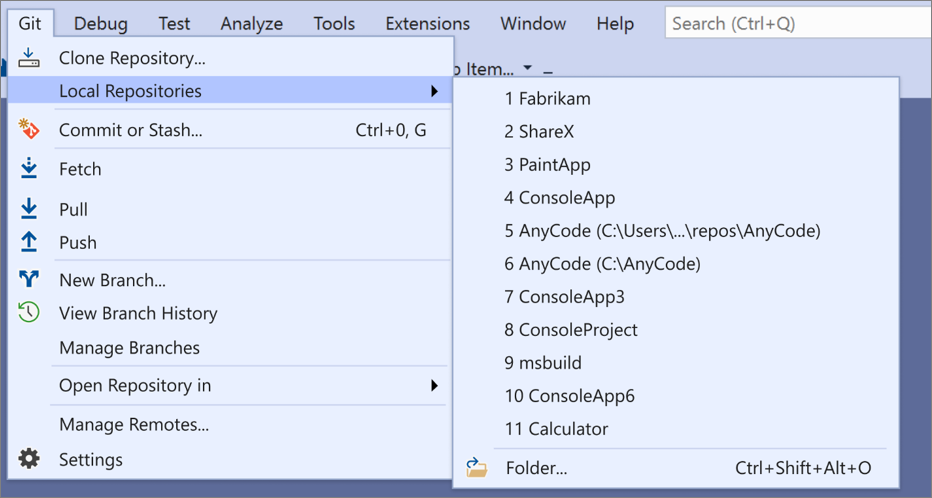
Step-by-Step Guide to Setting Up a Branch in GitHub Using Visual Studio:
- Open Visual Studio and navigate to your project.
- Click on the ‘Team Explorer’ tab on the right-hand side of the screen. If it’s not visible, you can enable it by going to ‘View’ > ‘Team Explorer’.
- In the ‘Team Explorer’ tab, click on the ‘Branches’ section.
- Right-click on the branch you want to create a new branch from (usually the main or master branch), and select ‘New Local Branch From…’.
- In the ‘New Branch’ window, enter a name for your new branch, following the naming conventions mentioned earlier. Ensure the ‘Checkout branch’ option is checked, and click ‘Create Branch’.
- You have now created a new branch and switched to it. Make the necessary changes in your code, and save your work.
- To commit your changes, go to the ‘Team Explorer’ tab, and click on the ‘Changes’ section.
- Review your changes, and enter a clear and concise commit message. Click ‘Commit All’ to commit your changes to the new branch.
- To push your new branch to GitHub, click on the ‘Sync’ section in the ‘Team Explorer’ tab. Click on ‘Publish’ under ‘Outgoing Commits’. This will push your new branch to the remote GitHub repository.
- Once your branch is pushed, you can create a pull request on GitHub to propose the changes you’ve made. To do this, go to the GitHub repository, click on the ‘Pull requests’ tab, and click ‘New pull request’. Select the base branch and the branch with your changes, and create the pull request.
By following these best practices and step-by-step guide, you can effectively set up a branch in GitHub using Visual Studio and contribute to your project in an organized and efficient manner.