Setting up Google Ads Conversion Tracking for a single page using Google Tag Manager involves creating a conversion action, configuring a tag and a trigger within Google Tag Manager, and publishing the changes.
Follow these steps to set it up
- Sign in to your Google Ads account: Visit ads.google.com and sign in with your credentials.
- Create a new conversion action:
- a. In the left-hand menu, click on “Tools & Settings” (wrench icon).
- b. Under “Measurement”, click “Conversions.”
- c. Click the blue “+” button to create a new conversion action.
- d. Select the type of conversion you want to track (e.g., website actions).
- e. Fill in the required information (e.g., conversion name, category, value, and count).
- f. Click “Create and continue” to generate a conversion ID and label.
- Sign in to your Google Tag Manager account: Visit tagmanager.google.com and sign in with your credentials.
- Create a new Google Ads Conversion Tracking tag:
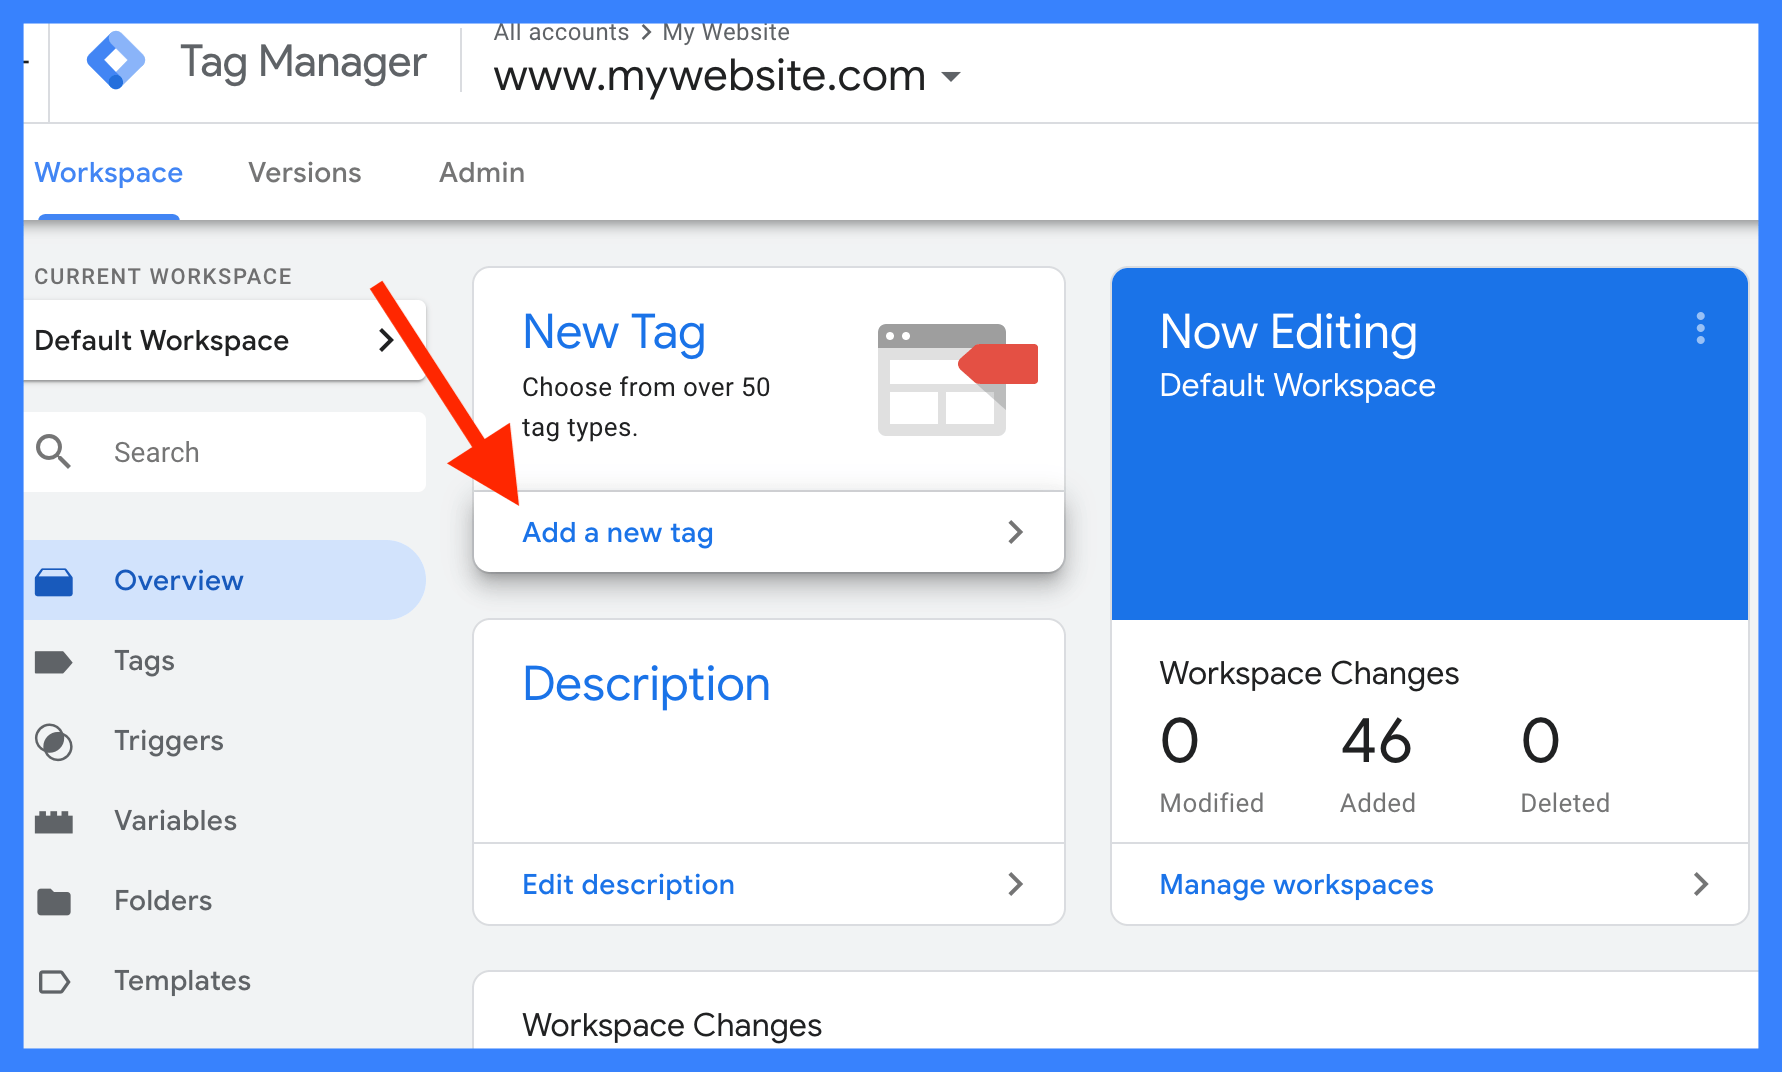
- a. In your Tag Manager container, click “Tags” in the left-hand menu.
- b. Click the “New” button to create a new tag.
- c. Name your tag, for example, “Google Ads Conversion Tracking.”
- d. Click “Tag Configuration” and select “Google Ads Conversion Tracking.”
- e. Enter your conversion ID and conversion label (from step 2) in the appropriate fields.
- Create a new trigger for the tag:
- a. Click “Triggering” in the tag configuration panel.
- b. Click the “+” button to create a new trigger.
- c. Name your trigger, for example, “Conversion Trigger.”
- d. Click “Trigger Configuration” and select the trigger type (e.g., “Page View” or “Click”).
- e. Configure the trigger to fire on the specific page or action you want to track (e.g., set the trigger to fire on the “thank you” page URL or a specific button click).
- Save and publish the changes:
- a. Save your new tag and trigger by clicking “Save” in the top right corner.
- b. Click “Submit” in the top right corner to publish the changes to your container.
- c. Add a version name and description, then click “Publish” to make the changes live.
Once you’ve completed these steps, Google Ads Conversion Tracking will be set up for the specific single page or action on your website using Google Tag Manager.